
入力してください
メニュー
Mintegral Pixel: Shopifyストア連携ガイド
Integration Guide
このガイドでは、Shopify stores に Mintegral Pixel を連携する方法を説明します。
⚠️ Note: この連携方法は Headless Mode で運用している merchants には対応していません。Headless Mode で運用している場合は、Custom Online store Integration 経由で Mintegral Pixel を連携してください。
Shopify Store Integration (Shopify Native Checkout)
Shopify の native features と checkout process のみで構築された store(third-party checkout または payment apps を使用していない場合)では、Shopify の標準 pixel configuration を使用して Mintegral Pixel を完全に連携できます。
Integration Steps
-
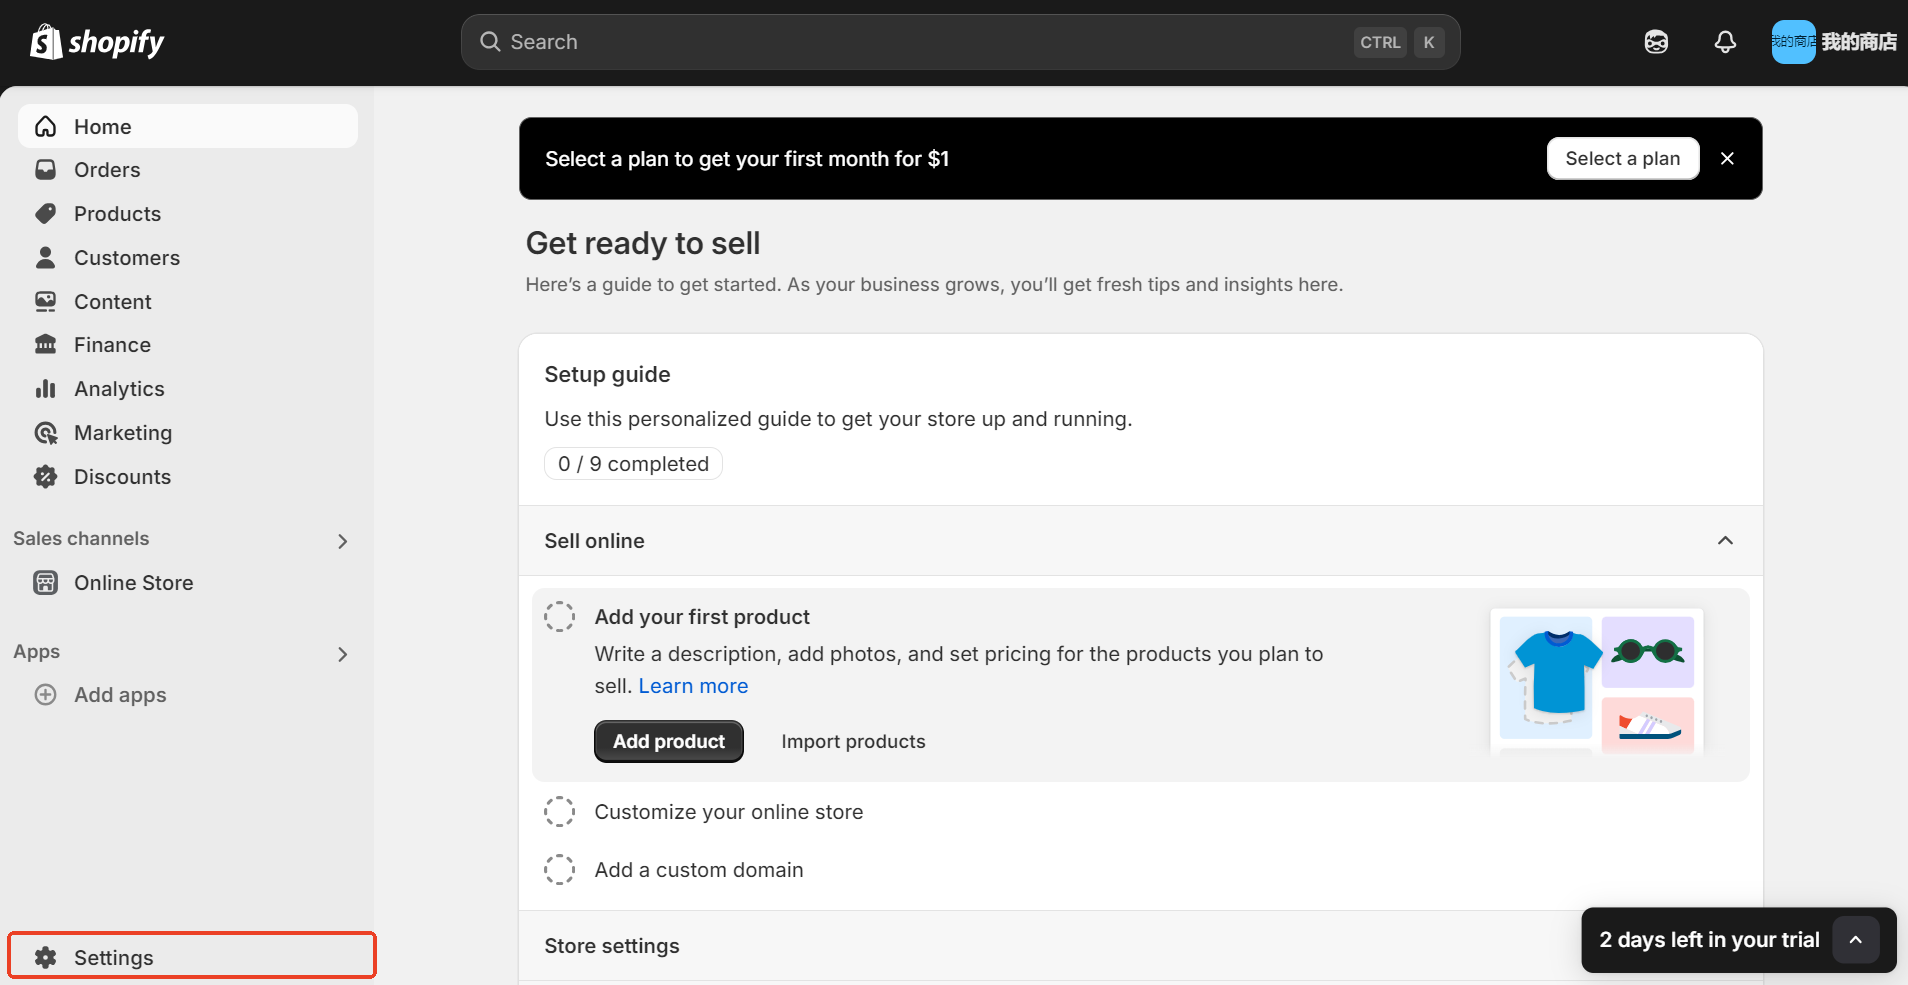
Settings を選択します。
-
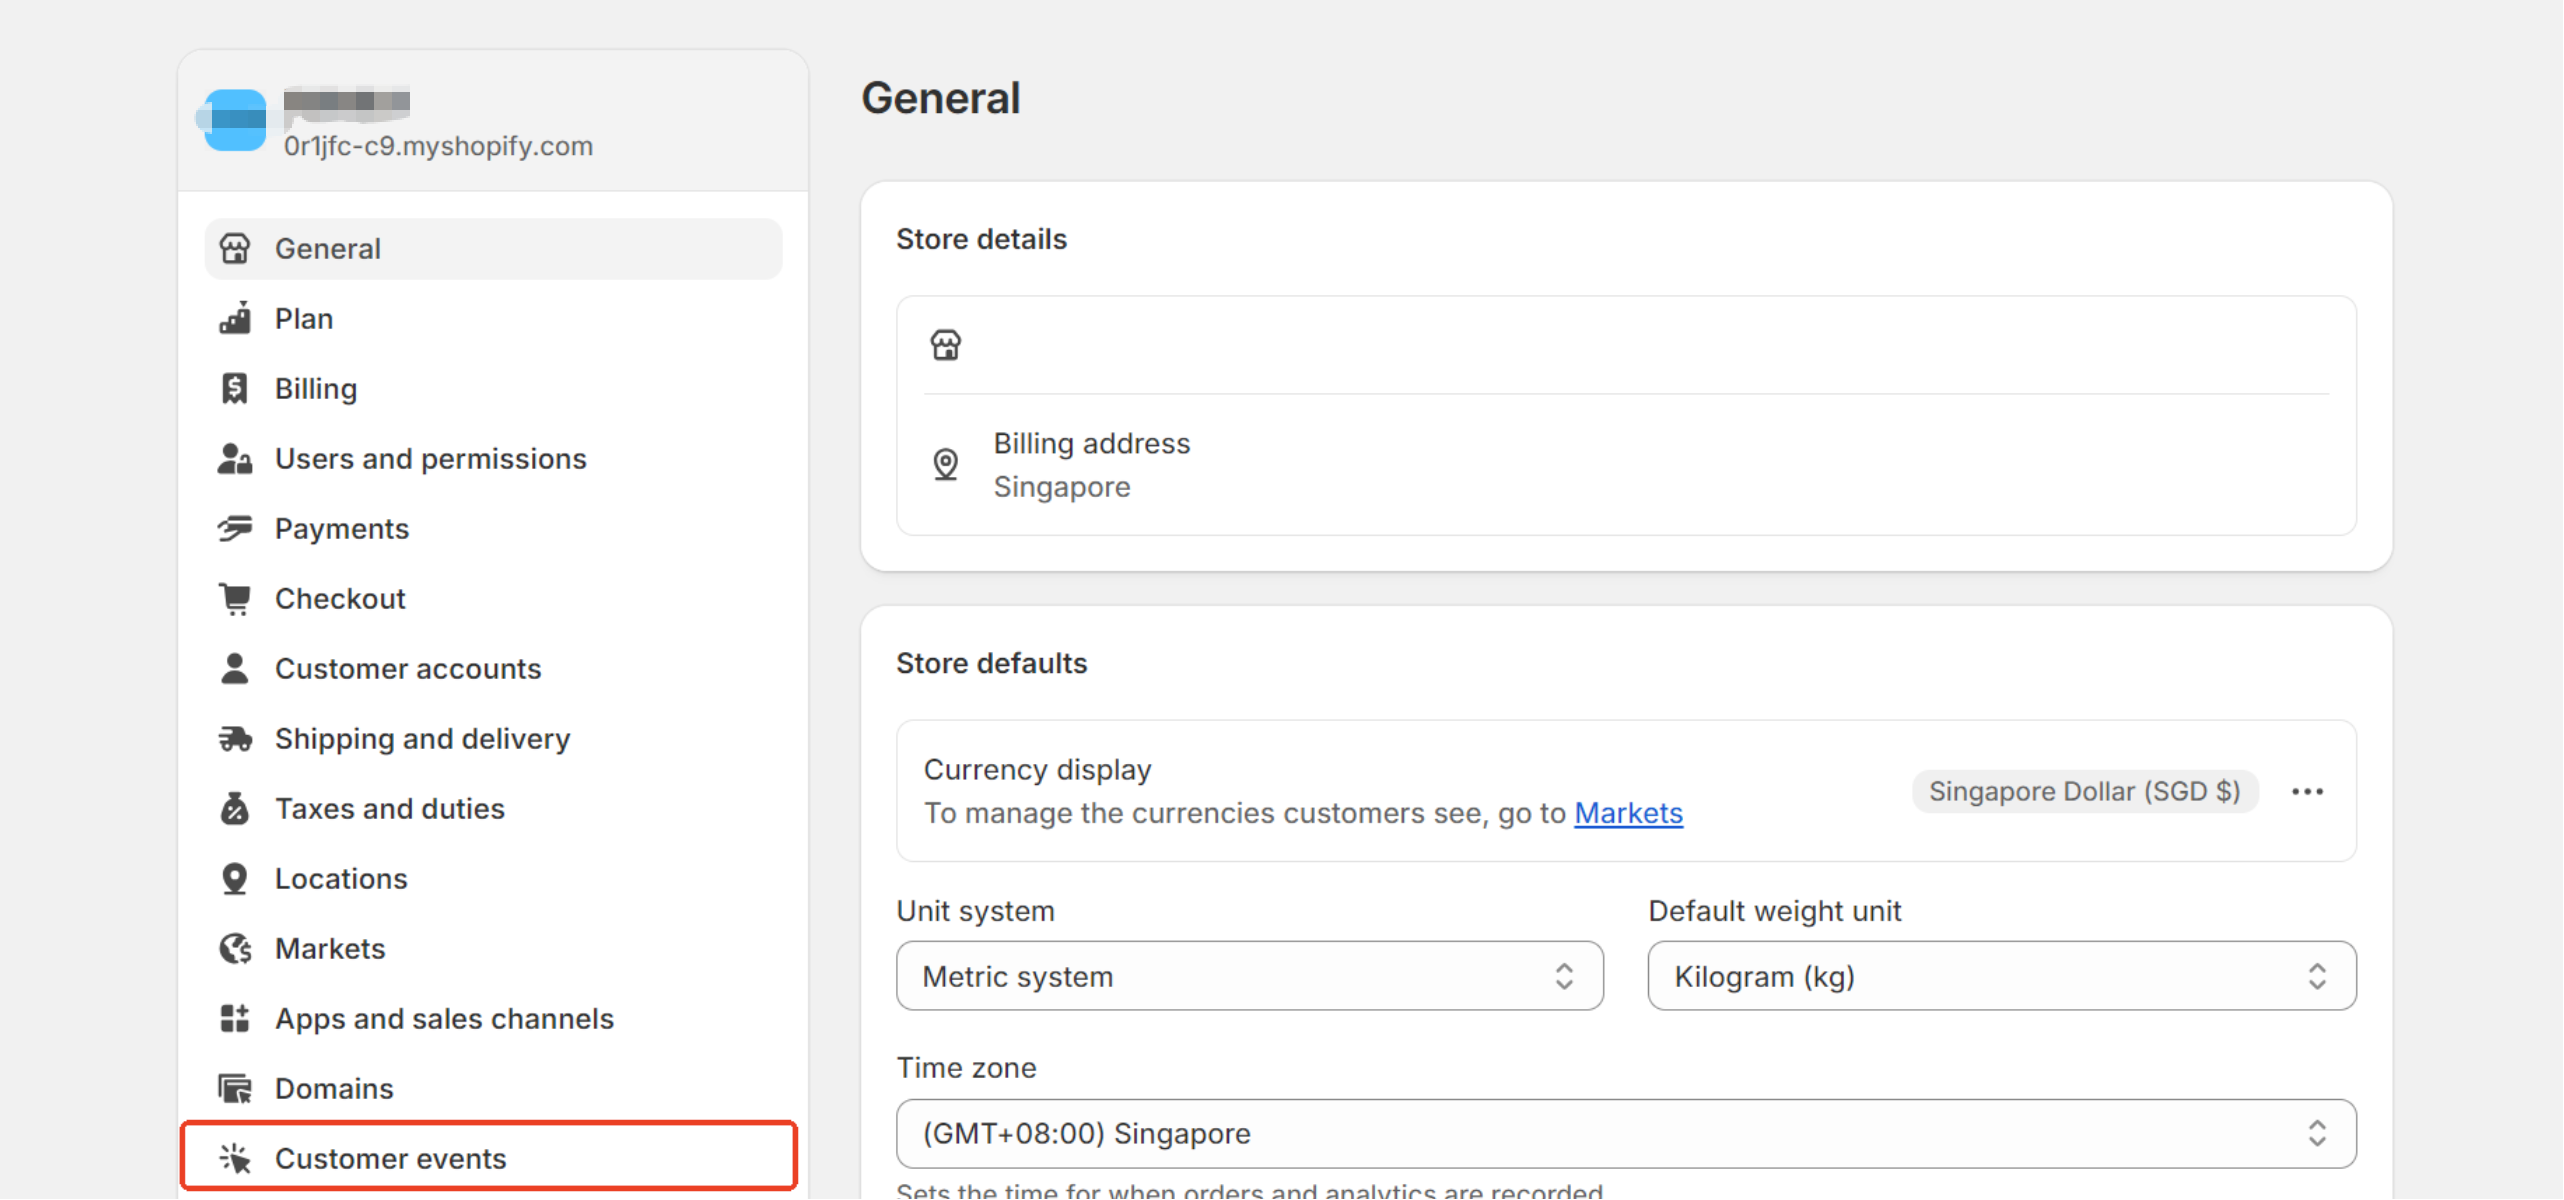
Customer events を選択します。
-
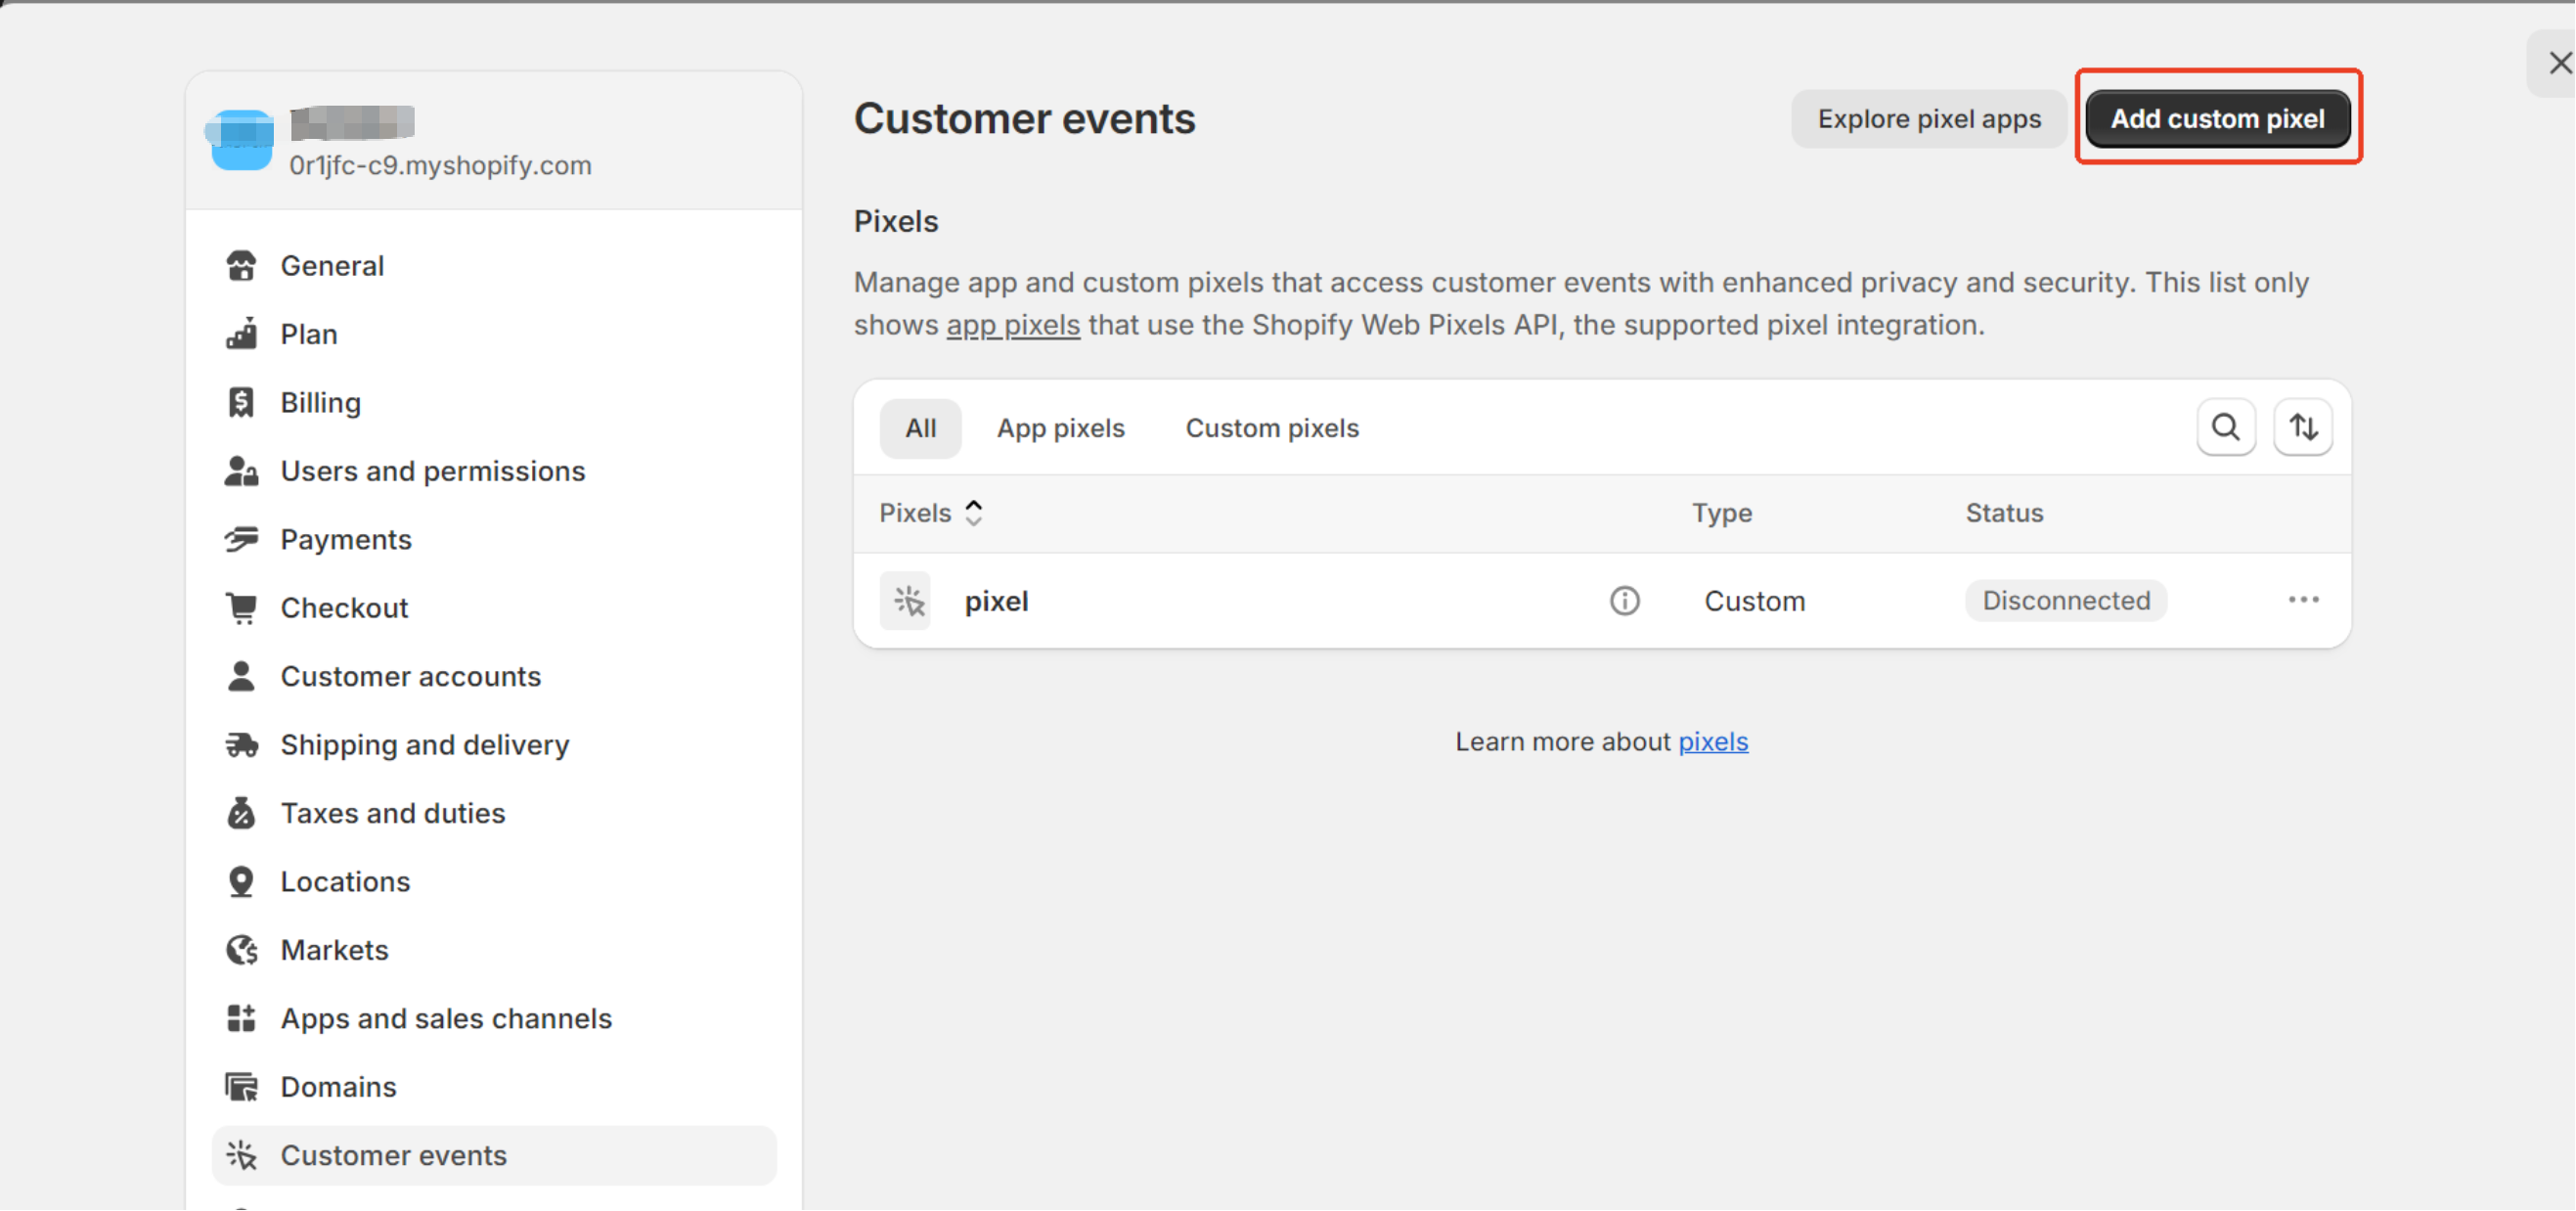
Add custom pixel ボタンをクリックします。
-
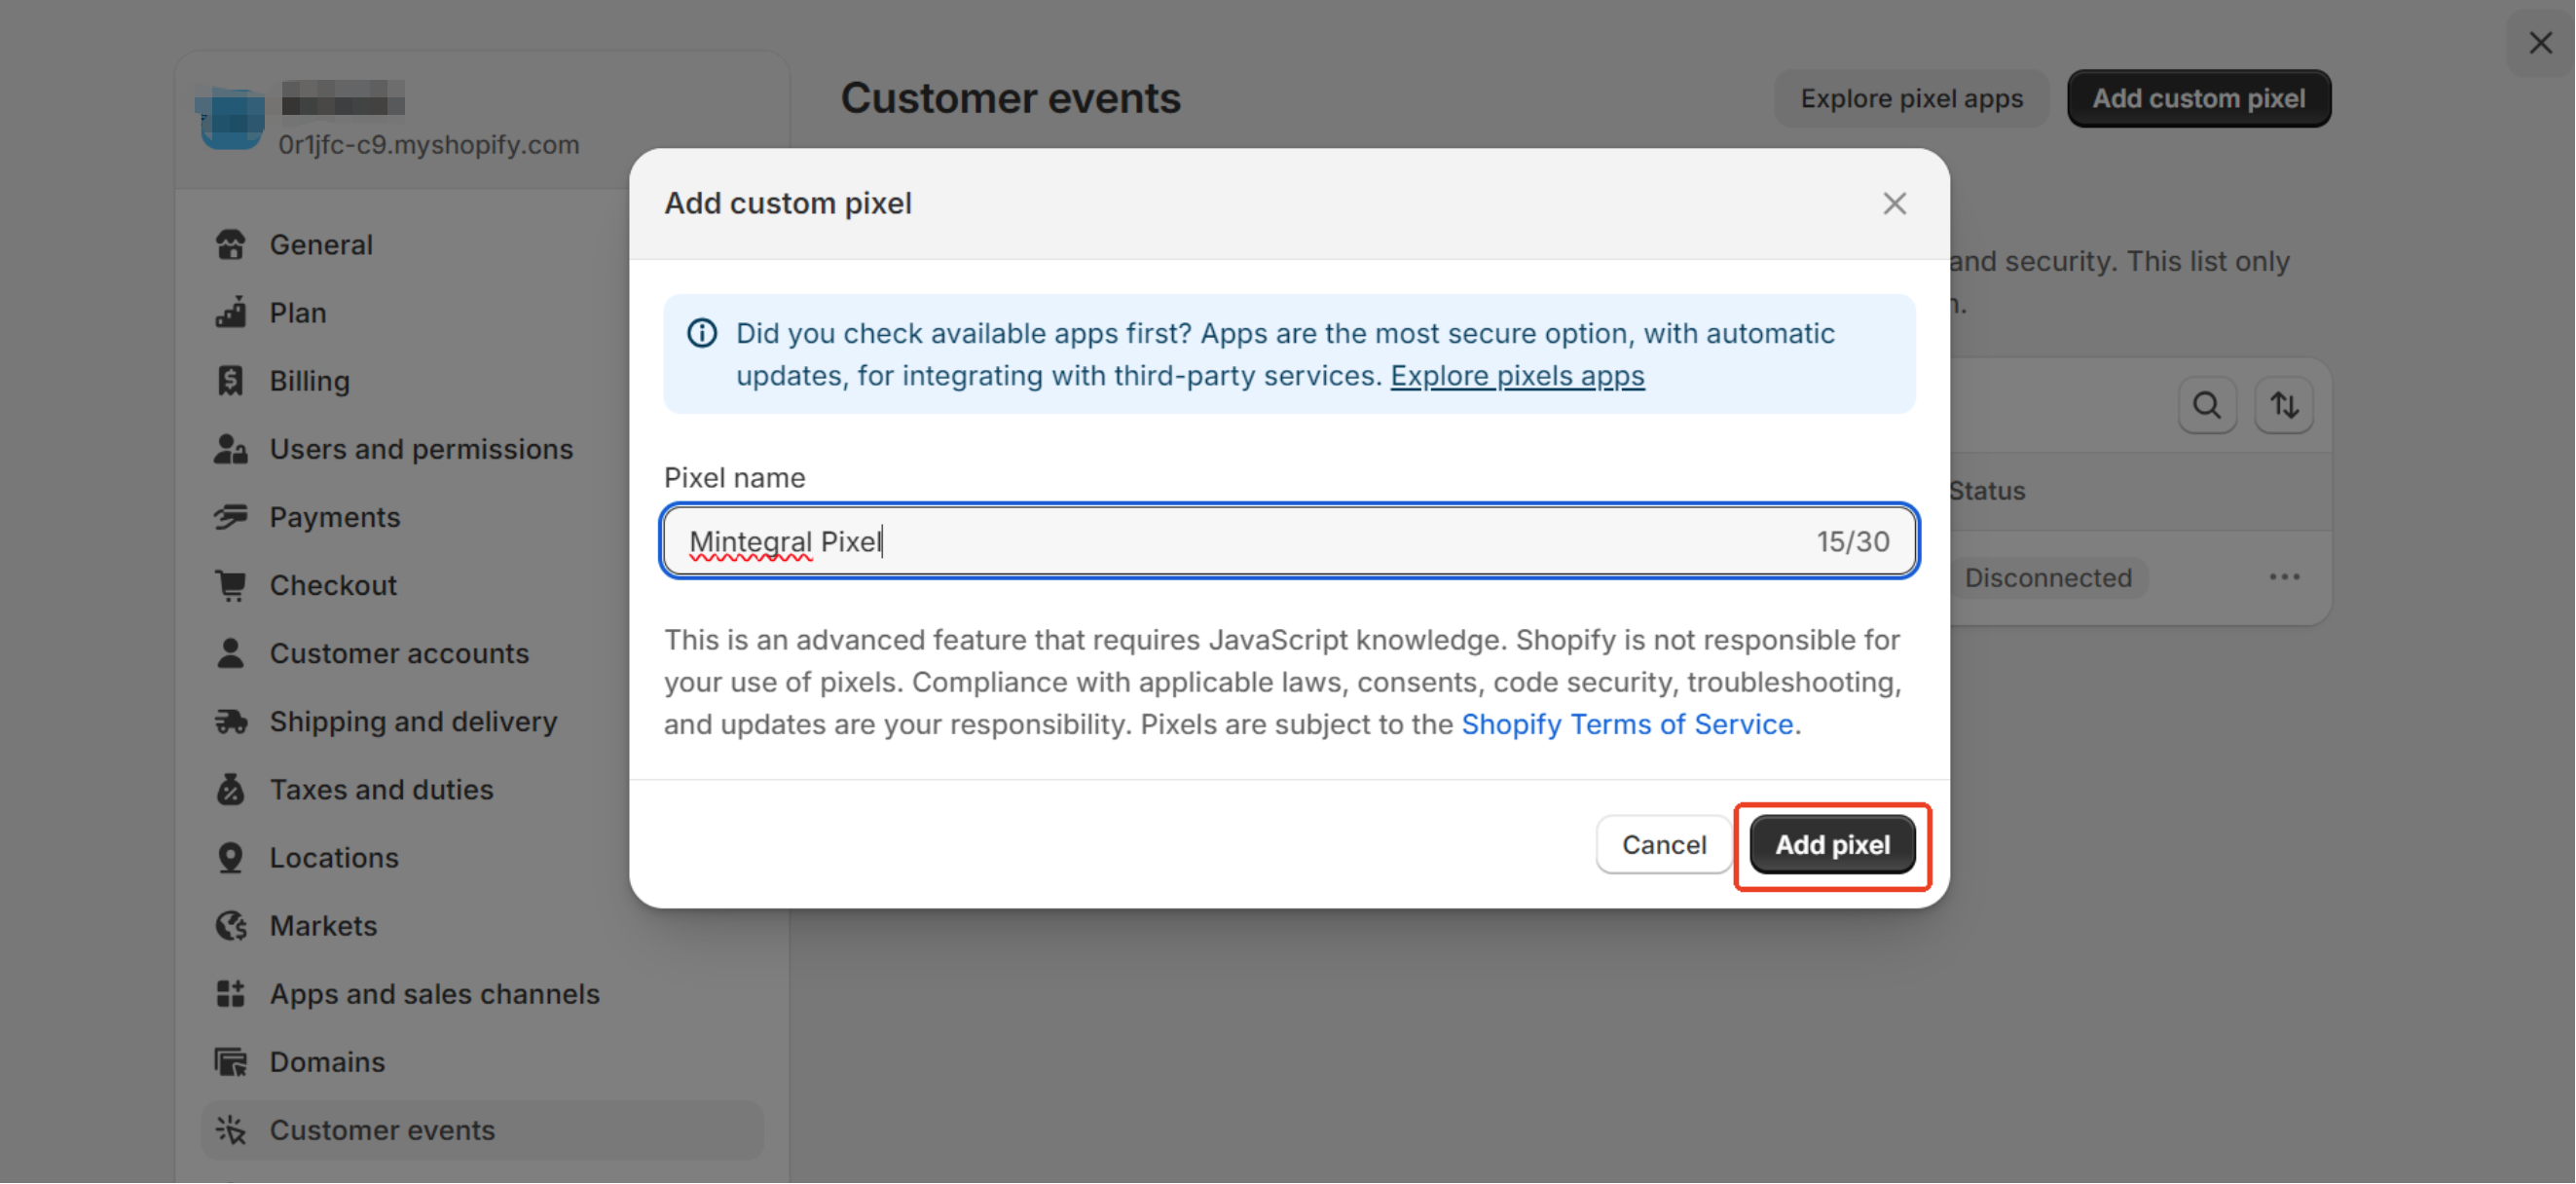
Pixel name として "Mintegral Pixel" と入力し、Add pixel をクリックします。
-
以下のコードを code field にコピー&ペーストし、Save をクリックします。
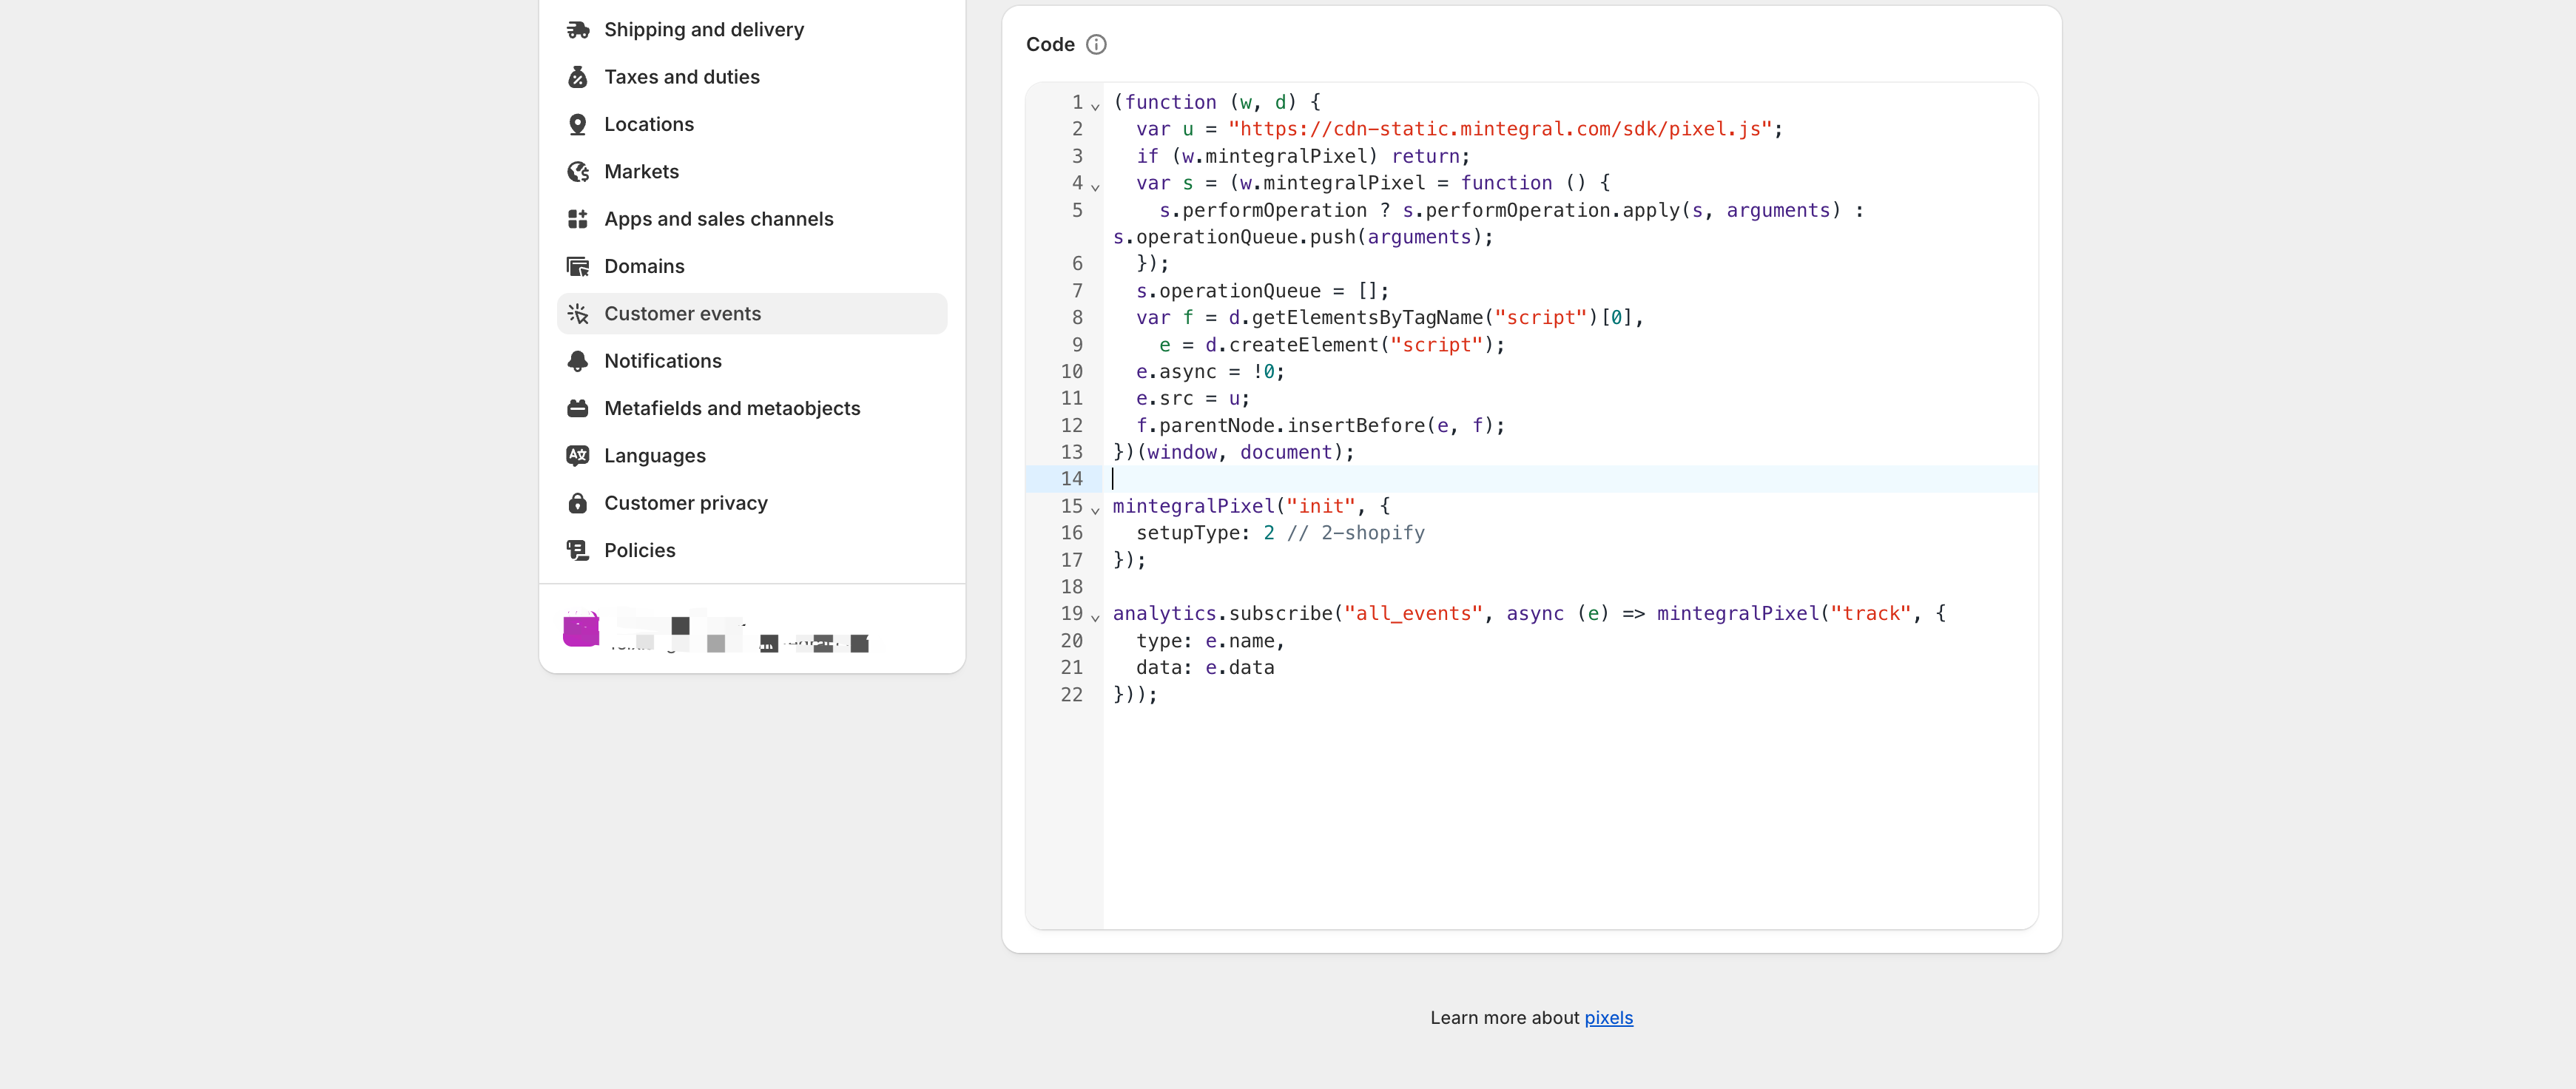
(function (w, d) { var u = "https://cdn-static.mintegral.com/sdk/pixel.js"; if (w.mintegralPixel) return; var s = (w.mintegralPixel = function () { s.performOperation ? s.performOperation.apply(s, arguments) : s.operationQueue.push(arguments); }); s.operationQueue = []; var f = d.getElementsByTagName("script")[0], e = d.createElement("script"); e.async = !0; e.src = u; f.parentNode.insertBefore(e, f); })(window, document); mintegralPixel("init", { setupType: 2 // 2-shopify }); analytics.subscribe("all_events", async (e) => mintegralPixel("track", { type: e.name, data: e.data })); -
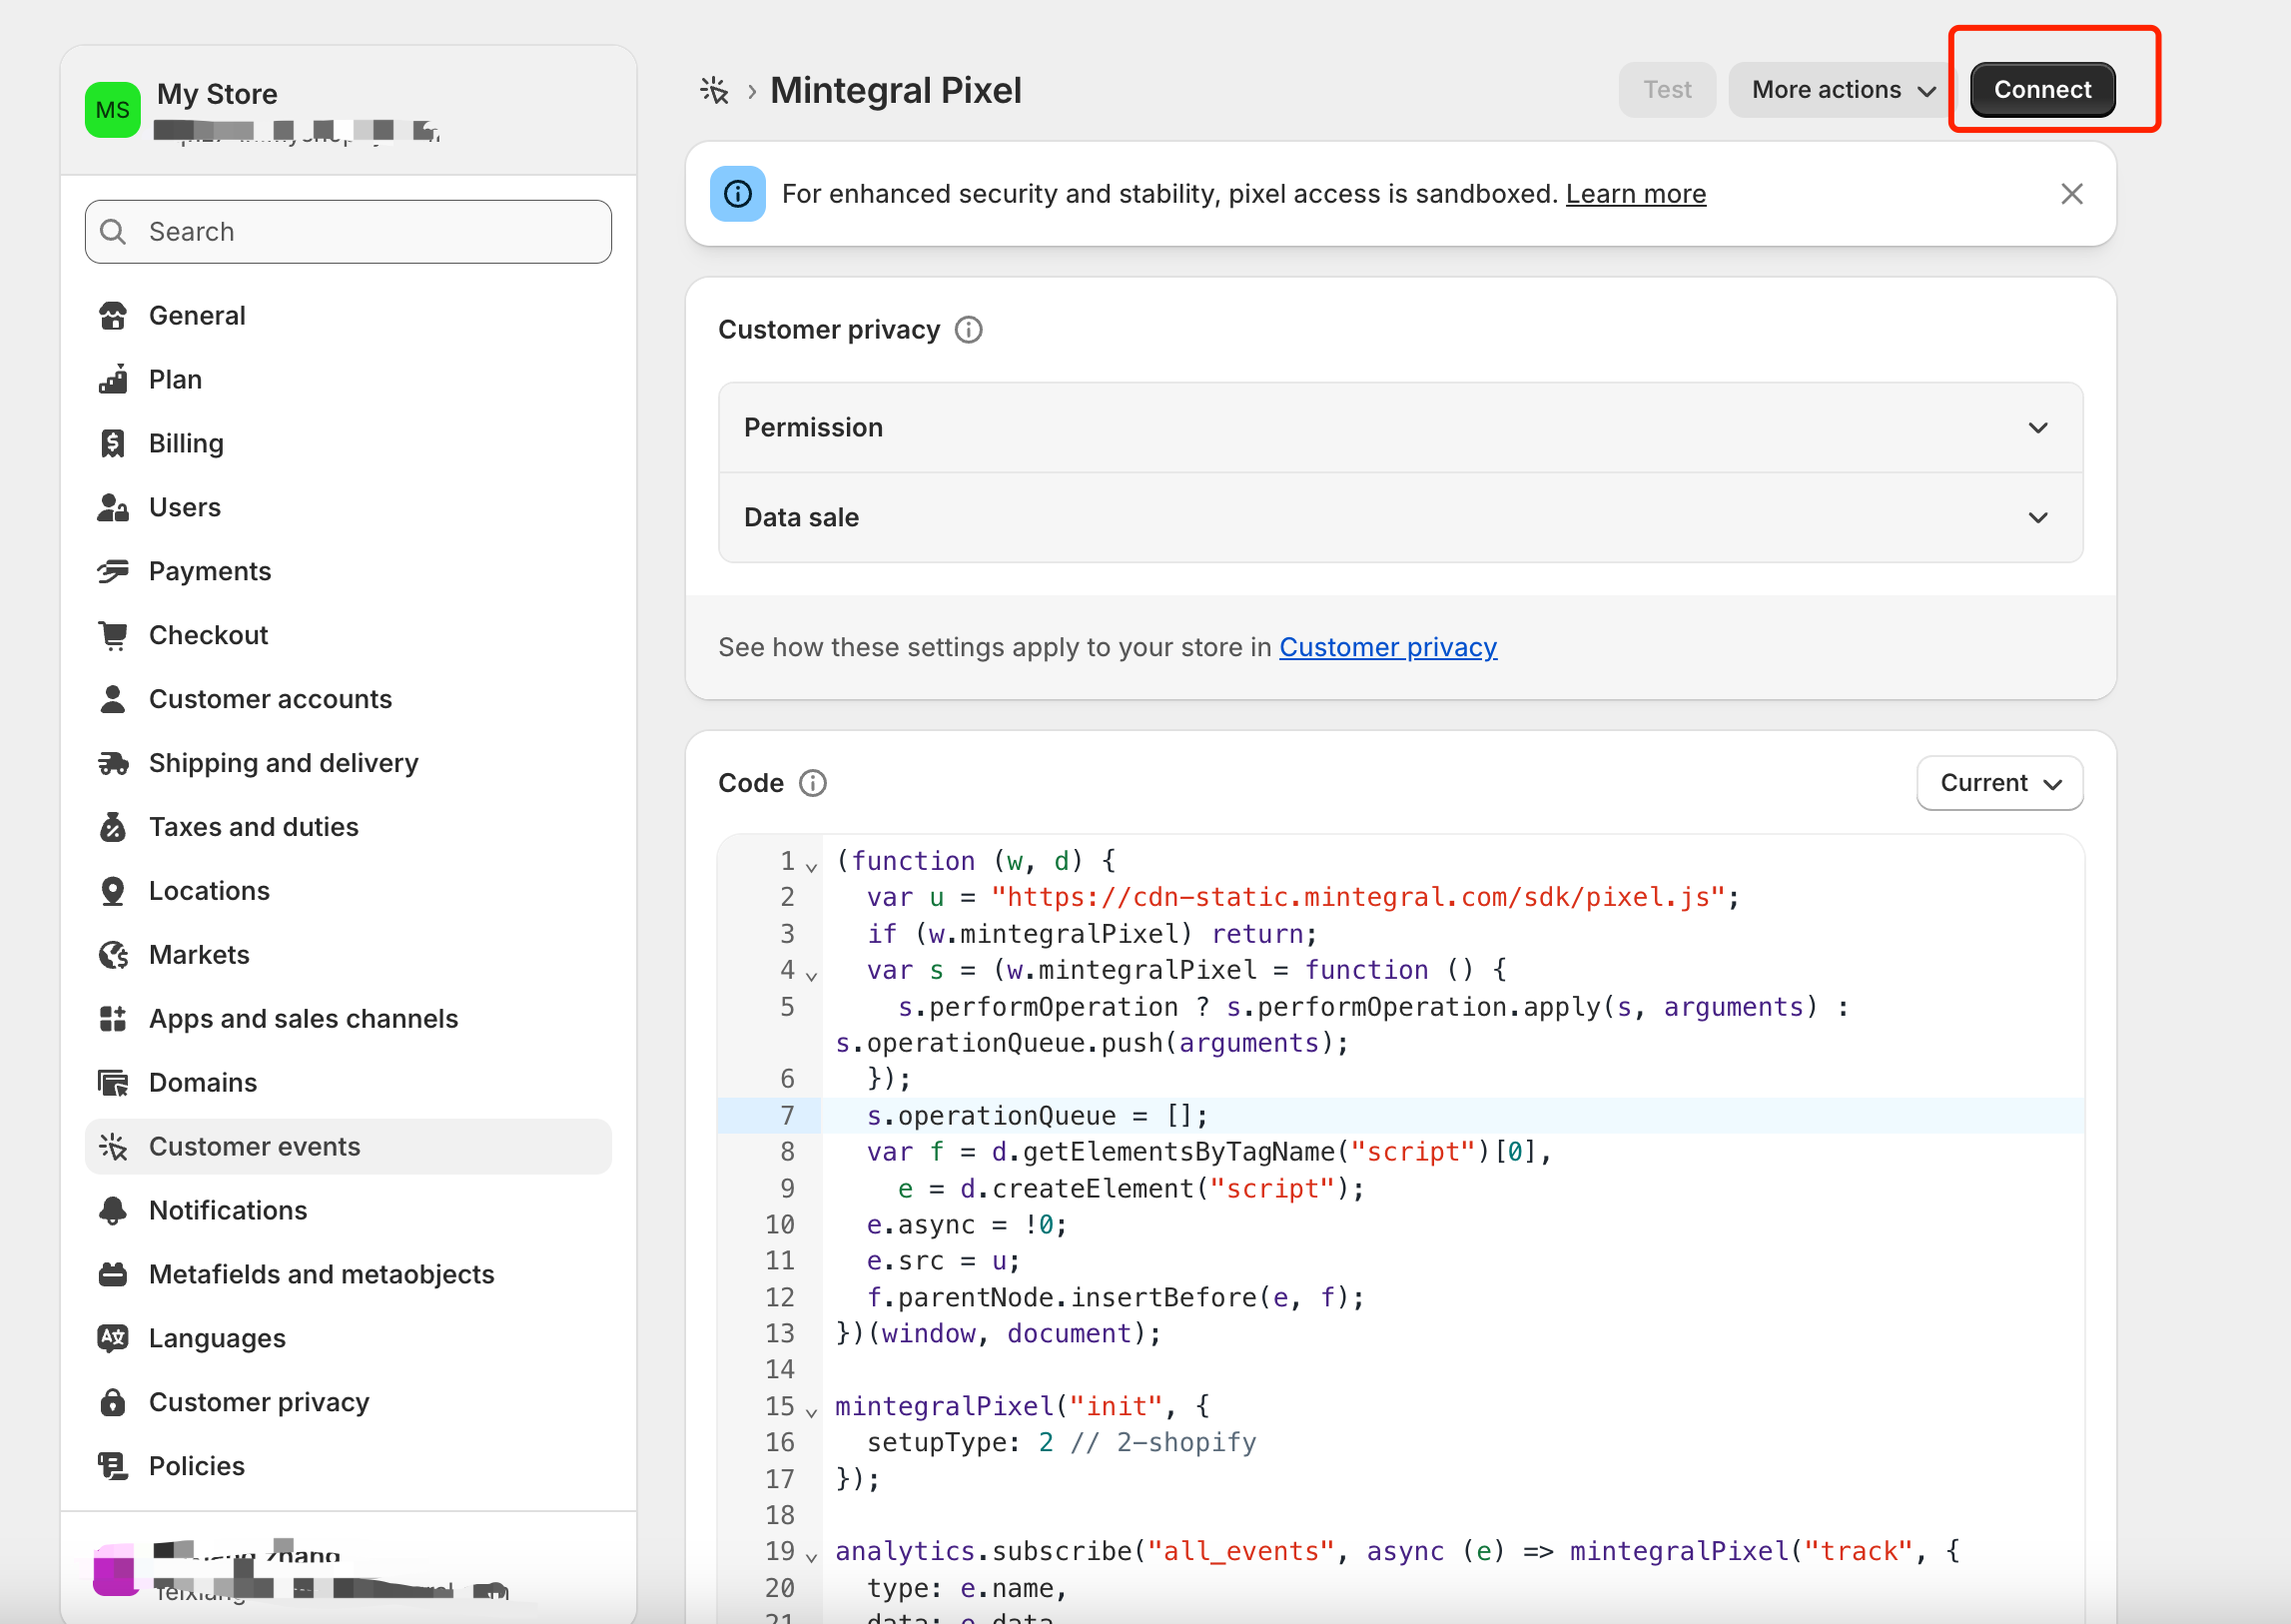
Connect をクリックします。これにより “Connect Mintegral Pixel” ダイアログボックスが表示されます。
-
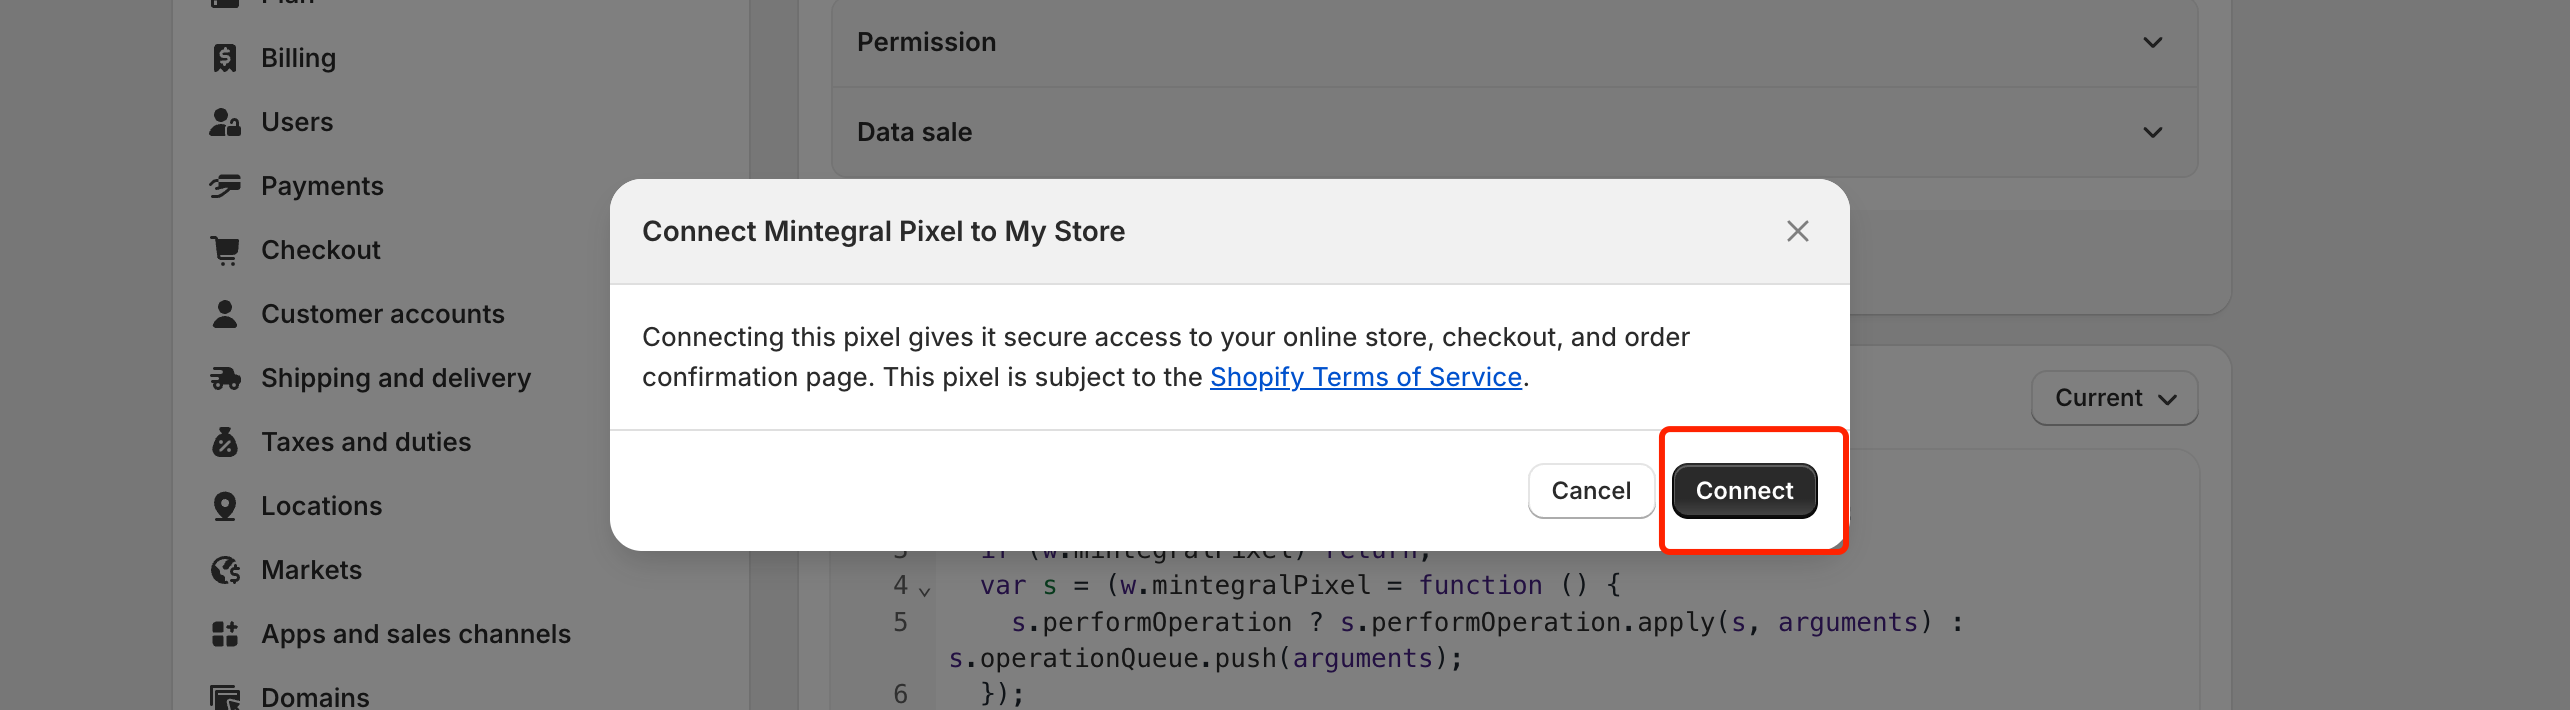
Connect をクリックします。
-
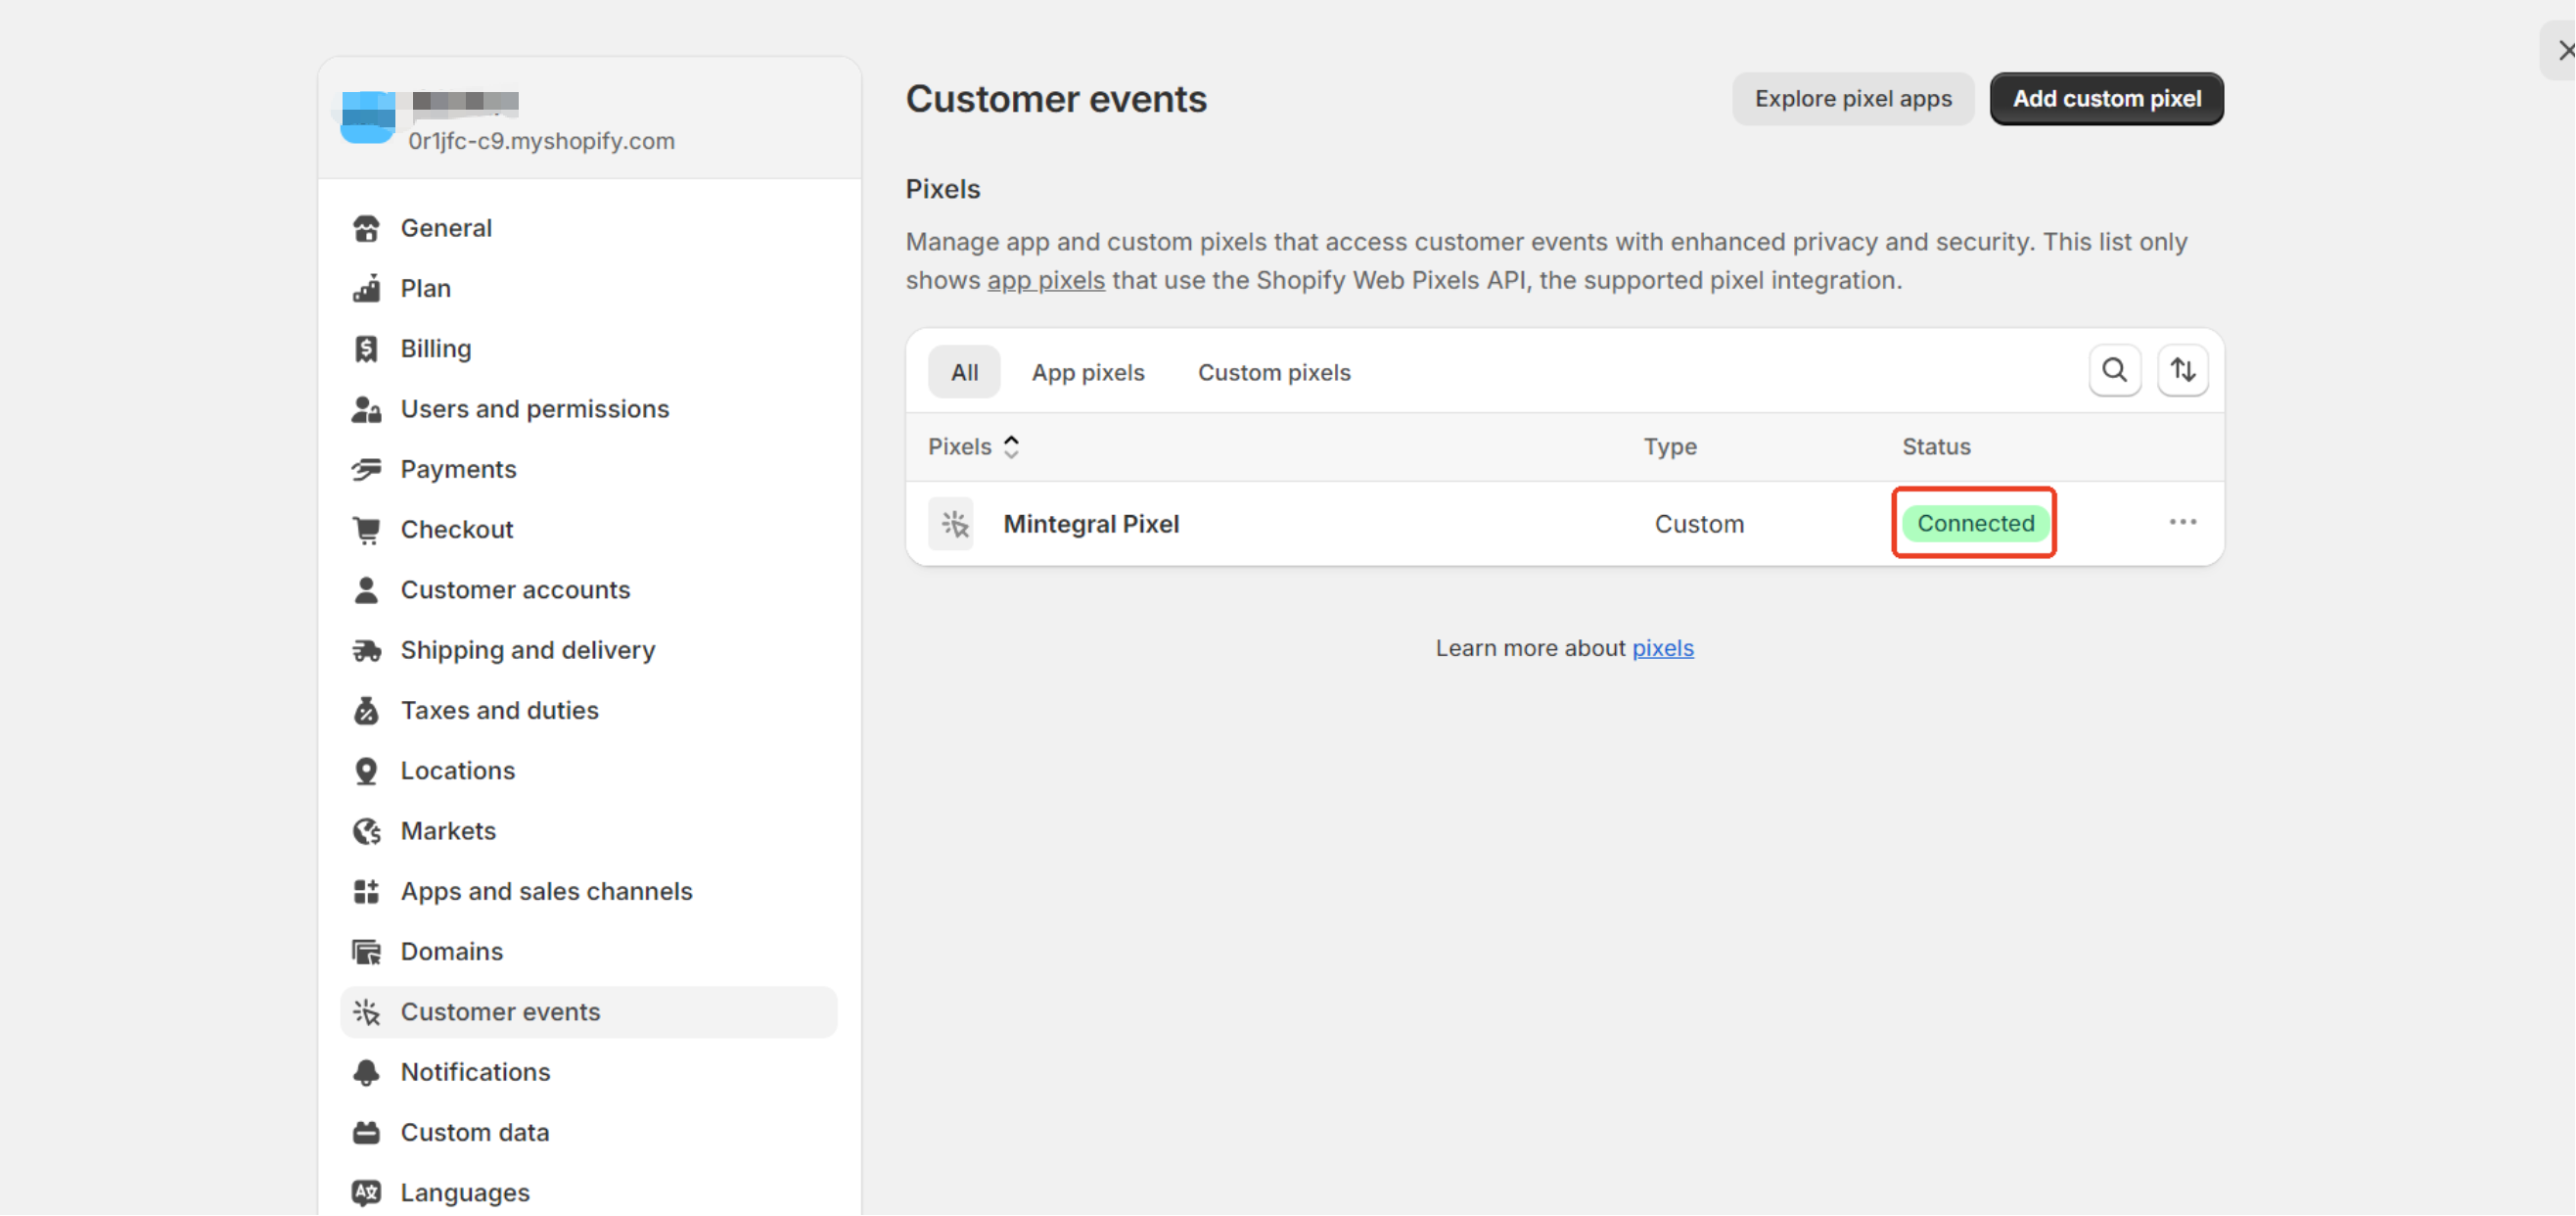
Pixel Status が Connected と表示されていることを確認します。
前の
Mintegral Pixel: クイックスタートガイド
次
Mintegral Pixel: カスタムオンラインストア連携ガイド
最近変更された: 2026-08-06
概要